Squats remain one of the best exercises you can do after 40, and pain-free mechanics matter more than depth or load. Three priorities keep you squatting for decades: lock in a stable setup before you load anything, treat sharp joint pain as a hard stop signal (not something to grind through), and pick the regression that fits your body today, not the one you used at 25. Start your next session with a box squat to a chair and a 3-second descent. That combination alone fixes most of what goes wrong.
TL;DR:
- Proper squat setup and controlled descent are essential, especially over 40, with a 3-second lowering phase significantly reducing joint stress.
- Regressions like box or goblet squats protect joints and accommodate mobility limitations, while load increases should be small and carefully monitored.
- Regression tools such as heel elevation or leg press help manage common joint issues, ensuring safe progress tailored to individual biomechanics.
- Warm-up routines focused on mobility, stability, and activation are critical for safe, effective squatting and preventing injury.
- Progression should be gradual, with 2-3 weekly sessions at 60-80% of one-rep max, using proper technique and recovery habits to sustain long-term strength.
Table of Contents
- Squat Form Over 40: A Quick Checklist of Cues and Red Flags
- Why Squats Matter After 40: The Evidence for Muscle, Bone, and Balance
- How to Do a Safe Bodyweight Squat, Step by Step
- Common Squat Mistakes and How to Fix Them
- Squat Regressions and Variations for Common Physical Limits
- Mobility and Warm-Up Steps That Actually Change Your Squat
- When and How to Add Load After 40
- Sample 8-Week Progression to Rebuild a Safe Squat Pattern
- The Evidence and Tools Behind This Squat Guide
- Why a Pain-Aware Approach Beats a Perfect One
- Squat Smarter, Not Just Heavier: Your Next Step
- Sources
- FAQ
Squat Form Over 40: A Quick Checklist of Cues and Red Flags
Run through this before you add any weight. It takes about 30 seconds and catches most of the mechanical issues that cause knee and back irritation.
- Stance: Feet shoulder-width or slightly wider, toes turned out 10 to 20 degrees, weight spread across the whole foot, not just the heels.
- Initiation: Push your hips back first, like closing a car door with your backside, before your knees bend.
- Torso: Keep your chest "stacked" over your pelvis. Excessive forward lean loads the lower back.
- Knees: Track them in line with your toes. Caving inward (valgus) is the single most common fault we see in lifters over 40.
- Tempo: Control the descent (2 to 4 seconds). Fast, bouncy reps spike joint stress right at the bottom.
- Breathing: Breathe normally on the way down and exhale through the sticking point. Holding your breath the whole rep raises blood pressure unnecessarily.
Red flags that mean stop the set: sharp or stabbing joint pain (different from muscle burn), swelling that shows up hours later, or a knee that feels unstable or wobbly at the bottom. Film yourself from the side once a month. A 10-second video tells you more about your form than a mirror ever will.
Why Squats Matter After 40: The Evidence for Muscle, Bone, and Balance
Resistance training is one of the few interventions that reliably slows or reverses it, because the mechanical stress of loaded movement signals bone-forming cells to get to work, according to Harvard Health.
Strength training doesn't just build muscle. It applies the mechanical load your skeleton needs to keep laying down new bone instead of losing it.
Squats also happen to mirror the exact movement pattern behind getting off a couch, climbing stairs, and catching your balance if you trip. That functional overlap is why physical therapists prescribe squats so often for older adults. Mayo Clinic points out that even short, consistent sessions, roughly 20 to 30 minutes, twice-weekly, deliver meaningful strength and functional benefits at this age. Forget chasing depth for its own sake. Track how easily you stand up from a low chair without using your hands. That number tells you more about your training than your squat max does.
How to Do a Safe Bodyweight Squat, Step by Step
Master this before you touch a bar or a dumbbell. Every load you add later inherits whatever pattern you groove here.
- Set your stance. Feet shoulder-width apart, toes out slightly, weight distributed across your whole foot. Screw your feet into the floor without actually moving them.
- Brace your midsection. Take a breath into your belly, not your chest, and tighten your core like you're about to take a light punch to the stomach.
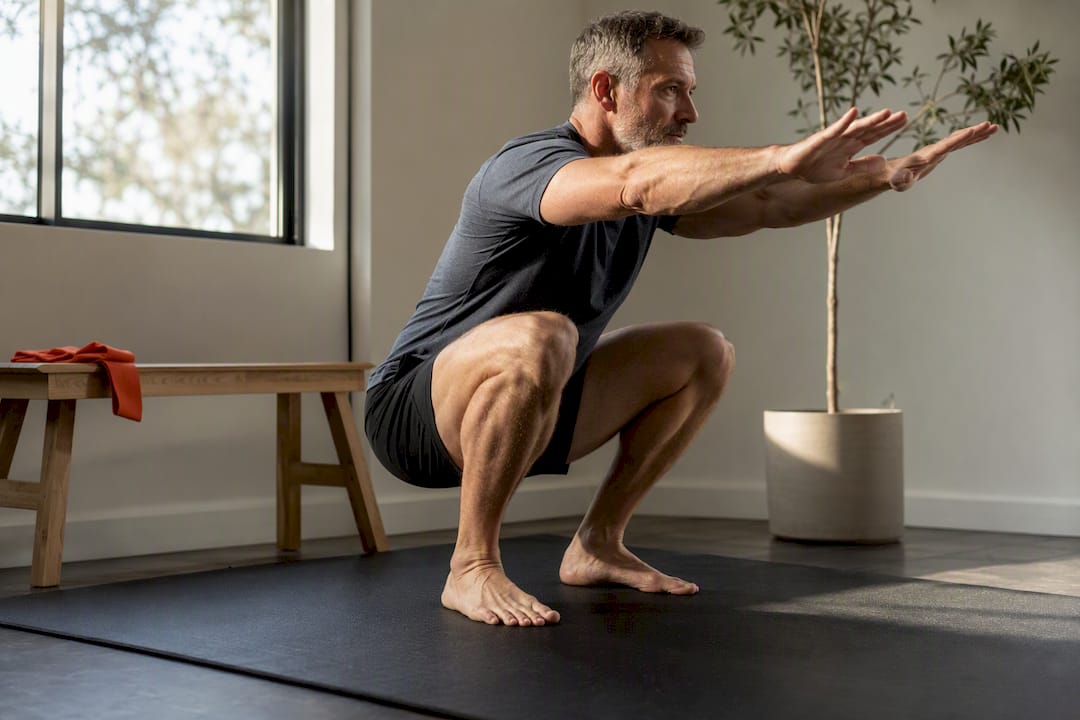
- Initiate with your hips. Push your hips back and down at the same time your knees bend. Your torso should stay relatively upright, and your chest stays stacked over your pelvis.
- Control the descent. Take 2 to 4 seconds to lower yourself. This isn't about looking slow. It reduces the jarring load spike that happens when you drop fast and catch yourself at the bottom.
- Find your depth. Go as low as you can while keeping your heels down and your lower back neutral. That depth varies by anatomy. Longer femurs or limited ankle mobility mean a higher stopping point, and that's fine.
- Drive back up. Push through the whole foot, exhale through the hardest part of the rise, and finish standing tall.
Depth is not a moral issue. If your ankles are stiff or your femurs are long relative to your torso, a parallel squat might be your genuine full range of motion, and pushing past it just to hit an arbitrary depth standard is how people over 40 pick up knee irritation that didn't need to happen.
Pro Tip: A 3-second descent on every rep is one of the most underused safety tools in strength training. It's not a formal clinical protocol, just widely recommended coaching practice, but it works because it increases control and removes the bounce that jars your joints at the bottom of the rep.
Common Squat Mistakes and How to Fix Them
Most joint irritation traces back to one of four fixable habits, not to squats themselves. Biomechanics research confirms that stance width, depth, and trunk angle all directly change the load on your knees and hips, which is exactly why a generic fix rarely works for every lifter, according to a clinical commentary on squat biomechanics.
- Heels rising off the floor: Usually an ankle mobility limit. Try a temporary heel elevation of 1 to 2 inches (a shoe wedge or small plates) while you work on ankle dorsiflexion drills separately.
- Knees caving inward: Add a resistance band around your knees during warm-up sets and consciously push outward against it. Widening your stance slightly often helps too.
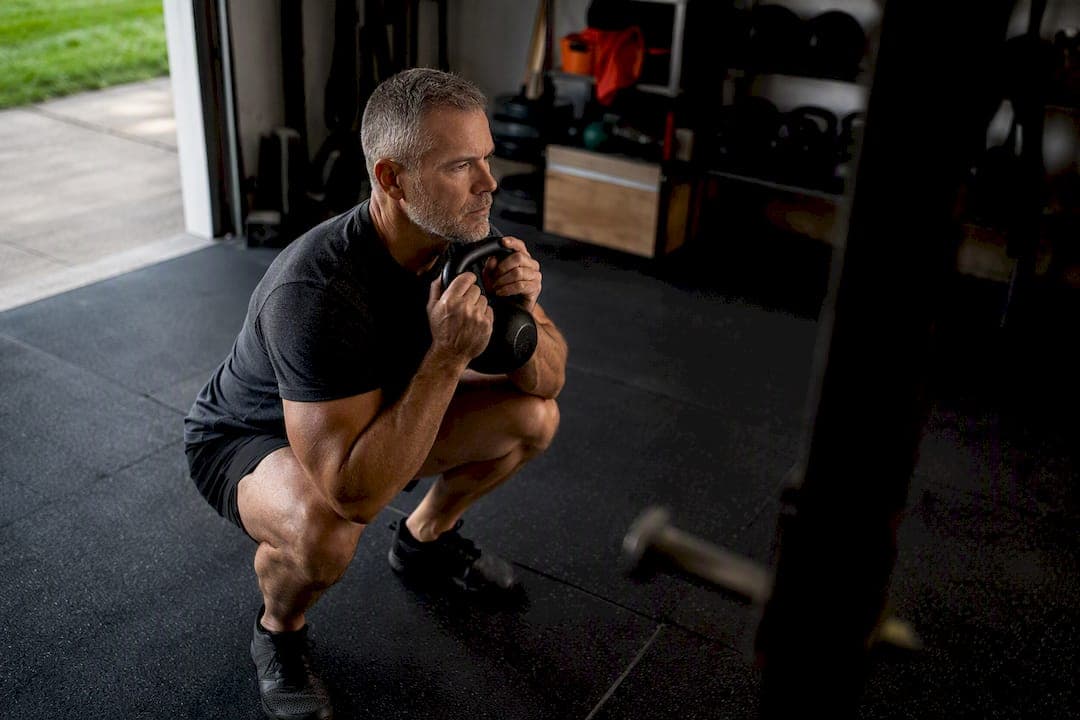
- Excessive forward lean: Regress to a goblet squat. Holding a weight at your chest forces a more upright torso and takes pressure off the lower back.
- Reps that are too fast: Prescribe yourself a tempo. Count "one, two, three" on every descent until slow control becomes automatic instead of optional.
None of these fixes require fancy equipment. They require noticing the pattern and being willing to spend two weeks correcting it before you add more weight.
Squat Regressions and Variations for Common Physical Limits
Not every body should squat the same way, and that's not a limitation. It's just biomechanics. Research on squatting patterns in older adults shows that a chair or box squat shifts demand toward the hip extensors, while a deeper traditional squat asks more of the knee and ankle, according to research on squatting biomechanics in older adults. That means the "right" variation depends on which joint needs the break.
- Box or chair squat: Builds confidence and gives you a consistent depth target, especially useful if you're rebuilding trust in your knees.
- Goblet squat: Keeps your torso upright and protects your lower back, ideal if forward lean is your main issue.
- Heel-elevated squat: A temporary fix for limited ankle dorsiflexion that lets you train pain-free while you improve mobility separately.
- Rack-supported or leg press: Removes balance demand and axial spinal loading, a smart substitution if you have a shoulder issue or spinal condition that makes standard loading uncomfortable.
| Limitation | Best variation | Why it helps |
|---|---|---|
| Knee hesitation or rebuilding confidence | Box or chair squat | Gives a consistent, predictable depth and removes the guesswork |
| Lower back strain or excessive lean | Goblet squat | Front-loaded weight forces an upright torso |
| Stiff ankles, heels rising | Heel-elevated squat | Reduces dorsiflexion demand while mobility improves |
| Shoulder pain or balance concerns | Rack-supported squat or leg press | Removes bar-on-back loading and stability demands |
Mobility and Warm-Up Steps That Actually Change Your Squat
Skipping the warm-up is the fastest way to make good squat form feel impossible. Spend 5 to 10 minutes on light cardio and dynamic mobility before your first working set, every session, no exceptions.
- Check your ankle dorsiflexion. Kneel in front of a wall, try to touch your knee to the wall with your foot flat and heel down. If you can't get close, that's your squat depth limiter, not weak quads.
- Elevate your heels temporarily if needed. A 1 to 2 inch wedge instantly improves torso angle and lowers lumbar shear while you keep working on genuine ankle mobility.
- Activate your glutes. Banded glute bridges and banded lateral walks wake up the muscles that stabilize your knees during the squat.
- Test single-leg balance. Ten seconds per leg. If you're wobbly, your squat stability work needs to start here, not under a barbell.
Pro Tip: Pair your warm-up with the same movement patterns you'll use in your workout, like carryover drills borrowed from pickleball-specific conditioning, which use similar lateral and balance demands relevant to squat stability.
When and How to Add Load After 40
You're ready to add weight when your bodyweight reps are consistently controlled, pain-free, and technically clean across multiple sessions, not just one good day. That's the readiness signal. Rushing past it is how good intentions turn into six weeks off from a tweaked knee.
Once you're there, a meta-analysis of resistance training in older adults supports 2 to 3 sessions per week at moderate to high intensity (around 60% to 80% of one-rep max) as an evidence-based range for building real strength, according to a systematic review and meta-analysis on resistance training prescription for older adults. That's not a maximal-effort range. It's a sustainable one that still drives adaptation.
- Add load in small increments, think 5 pounds on a squat, not 20.
- Track soreness against performance. Mild muscle soreness for a day or two is normal. Soreness that gets worse into day three, or joint pain that lingers, means you added too much too fast.
- Give your joints roughly 72 hours between hard lower-body sessions before you load the same pattern again. Our training programs for adults over 40 breaks this down further if you want a full weekly template.
- Never chase a number on the bar at the expense of the cues from the checklist earlier. The load means nothing if your knees are caving to hit it.
Progressive overload still works after 40. It just needs a longer leash between increases than it did at 25, and our guide to progressive overload for lifters over 40 covers exactly how to pace that leash.
Sample 8-Week Progression to Rebuild a Safe Squat Pattern
This plan assumes you're starting from scratch or coming back after a layoff. Three phases, eight weeks, measurable checkpoints at each stage.
| Phase | Weeks | Focus | Volume |
|---|---|---|---|
| 1: Pattern reclaim | 1 to 2 | Box or goblet squat, bodyweight | 2x/week, 3 sets of 8 to 10 |
| 2: Load introduction | 3 to 5 | Add light external load | 3x/week, 3 sets of 8 |
| 3: Consolidation | 6 to 8 | Higher load, monitor pain and quality | 3x/week, 3 sets of 8 |
- Weeks 1 to 2: Rebuild the movement pattern with bodyweight box or goblet squats twice a week. No load until the pattern is clean on video.
- Weeks 3 to 5: Introduce light external load, small weekly increases only if form holds.
- Weeks 6 to 8: Consolidate at your new working weight. Add more only if you hit the top of your rep range across two consecutive sessions, that's the rule, not a guess.
The Evidence and Tools Behind This Squat Guide
Ironatforty builds its training guidance on peer-reviewed research and clinical commentary, not recycled gym-bro advice, then pairs it with free tools you can actually use to plan your own progression.
- The 1RM calculator helps you estimate a safe percentage range for loading once you're ready to add weight.
- The TDEE calculator supports recovery by making sure you're eating enough to rebuild the tissue you're training.
- Our osteoporosis strength training guide goes deeper into the bone-density research referenced above.
- Our safety squat bar breakdown covers equipment alternatives if standard back squats aren't working for your shoulders or spine.
Why a Pain-Aware Approach Beats a Perfect One
Most squat advice online chases an aesthetic ideal, ass-to-grass depth, a certain bar speed, instead of what actually matters at 40 and beyond: consistency without injury. Function beats form points every time. Use the tools and guides linked above to build your own plan, not someone else's idea of what your squat should look like.
— Iron@40 Staff
Squat Smarter, Not Just Heavier: Your Next Step
There are free tools available online that help you plan a squat progression designed to protect your knees. Where a personal trainer might charge you per session to estimate your working percentages, our 1RM calculator does it in 30 seconds, and pairs directly with the loading ranges covered in this guide.
If your squat plan is stalling because your recovery isn't dialed in, our nutrition hub covers how to eat to support joint repair and strength gains at the same time. And if a specific joint issue, knee, hip, or lower back, is the real reason your squat feels off, our joints resource walks through targeted fixes beyond what a general guide can cover. Start with the 1RM calculator today, plug in a recent lift, and build your next eight weeks around real numbers instead of guesswork.
Sources
- Strength training builds more than muscles - Harvard Health
- Mayo Clinic guidance on strength training
- Clinical commentary on biomechanics and prescription of the squat (PMC)
- Optimizing resistance training prescription for older adults — systematic review and meta-analysis (Springer Nature)
FAQ
How Much Should a 40-Year-Old Be Able to Squat?
There's no universal number, strength varies enormously by training history, body weight, and injury background.
Is It Safe to Do Squats in Your 40s?
Yes, squats are safe and beneficial for most people in their 40s and beyond when performed with pain-free depth and appropriate regressions. Research even shows strength training can reduce knee osteoarthritis pain rather than worsen it when programmed correctly.
Can You Get Ripped at Age 40?
Yes, muscle growth and visible strength gains are absolutely achievable after 40 with consistent resistance training and adequate protein intake, though recovery typically takes longer than it did in your 20s. Squats, done with progressive load over 2 to 3 sessions a week, build meaningful lower-body muscle at any age.
What Is the 72-Hour Rule for Men Over 40 Who Want to Build Muscle?
The 72-hour rule refers to giving the same muscle group roughly three days of recovery before training it hard again, since recovery capacity generally slows with age. Track soreness against performance rather than the clock alone. If soreness worsens by day three, you likely need more than 72 hours before your next heavy squat session.