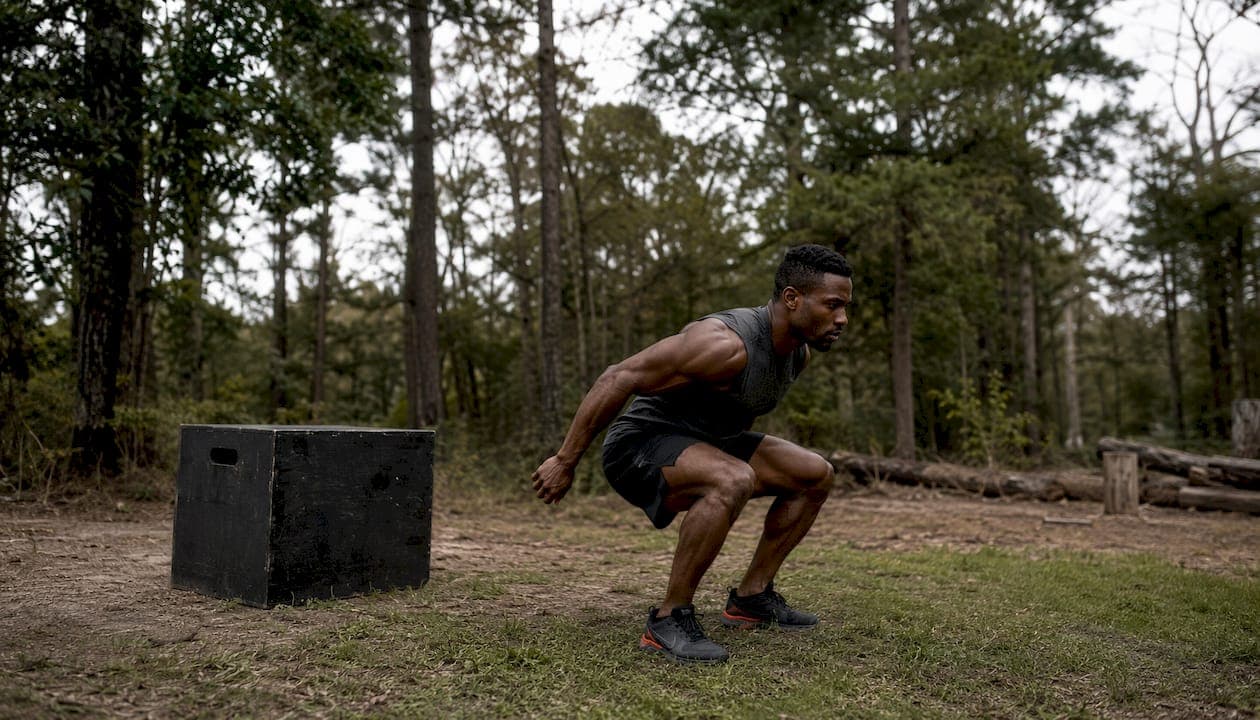
The Reactive Strength Index (RSI) is jump height (in meters) divided by ground contact time (in seconds). That single ratio, developed from the work of researcher Warren Young, tells you how efficiently an athlete converts a rapid eccentric load into explosive concentric force through the stretch-shortening cycle. Higher RSI means faster, more powerful ground contacts. Lower RSI means energy is leaking somewhere in that transition.
The formula: RSI = Jump Height (m) ÷ Ground Contact Time (s)
Quick orientation on where you stand:
- Below 1.0 indicates low reactivity (untrained athletes or those returning from injury)
- 1.5–2.0 is typical for trained team-sport athletes
- Above 3.0 is common for elite jump and sprint athletes
Table of Contents
- Why does RSI matter for sport performance?
- How is RSI measured? Tests, equipment, and protocols
- How do you calculate RSI from raw data?
- What counts as a good RSI score?
- How reliable is RSI, and what are its limits?
- How do you improve your RSI score?
- RSI for lifters over 40: what changes and what doesn't
- Key Takeaways
- RSI is a tool, not a trophy
- Useful sources
- FAQ
Why does RSI matter for sport performance?
RSI quantifies fast SSC function-Reactive-strength-index-and-its-associations-with-measures.pdf), specifically the ground contacts that happen in roughly 250 milliseconds or less. That window is where sprinting, cutting, and repeated jumping actually live. If an athlete takes longer than that to leave the ground, they're relying on a slower, more deliberate movement pattern, not the reflexive spring that separates elite movers from everyone else.
The stretch-shortening cycle has three phases. The eccentric phase is the rapid muscle lengthening on contact. The amortization phase is the brief transition between landing and push-off. The concentric phase is the explosive extension. RSI is essentially a report card on the amortization phase: how quickly and effectively does the athlete redirect force? Tendon stiffness, neuromuscular coordination, and hip/ankle strength all feed into that number.
Sport actions where RSI directly predicts performance:
- Sprint acceleration — short, stiff ground contacts drive horizontal velocity
- Change of direction — reactive cutting requires rapid force redirection
- Repeated jumping — basketball, volleyball, and soccer demand multiple fast SSC efforts per play
- Hurdle clearance and bounding — track and field events where contact time is a direct performance variable
For coaches, RSI gives you something most jump tests don't: a ratio that separates how high from how fast. A countermovement jump height tells you about absolute power. RSI tells you about speed of force application under time pressure.
How is RSI measured? Tests, equipment, and protocols
The depth jump (also called a drop jump) is the standard test for classic RSI. The athlete steps off a box, lands, and immediately jumps as high as possible with minimal ground contact time. That combination of pre-loaded eccentric stress and reactive push-off is what makes it the right tool for the job.

RSI-mod, derived from a countermovement jump, measures a related but distinct quality. The two metrics show only moderate association and meaningful measurement bias. Don't use them interchangeably.
Standard drop jump protocol
- Warm-up — 5–10 minutes of general movement, then 2–3 submaximal practice drops
- Set drop height — 30–40 cm is the most common starting point; record it every time
- Execution — athlete steps (not jumps) off the box, lands with both feet simultaneously, and immediately jumps for maximum height with minimum contact time
- Trials — 3–5 trials with 30–60 seconds rest between each
- Discard outliers — remove any trial where the athlete visibly paused or altered body position on landing
- Record — log both jump height and ground contact time for every trial; average the valid attempts
Equipment options and tradeoffs
- Force plates — gold standard; millisecond GCT resolution, direct force measurement, highest accuracy
- Contact mats — affordable and portable; derive jump height from flight time, adequate for field use
- Jump mats and timing systems — similar to contact mats; accuracy depends on mat sensitivity and calibration
- IMUs and phone apps — convenient but variable precision; useful for trend monitoring, not precise benchmarking
Pro Tip: Use the same device for every testing session. Switching from a contact mat to a force plate mid-season will produce RSI values that look like performance changes but are actually measurement artifacts.
Data-collection checklist for consistent results:
- Same box height, every session
- Same footwear (or barefoot, consistently)
- Same surface (hardwood, rubber, turf — pick one)
- Standardized verbal instruction ("minimize contact time, maximize jump height")
- Same time of day relative to training load
How do you calculate RSI from raw data?
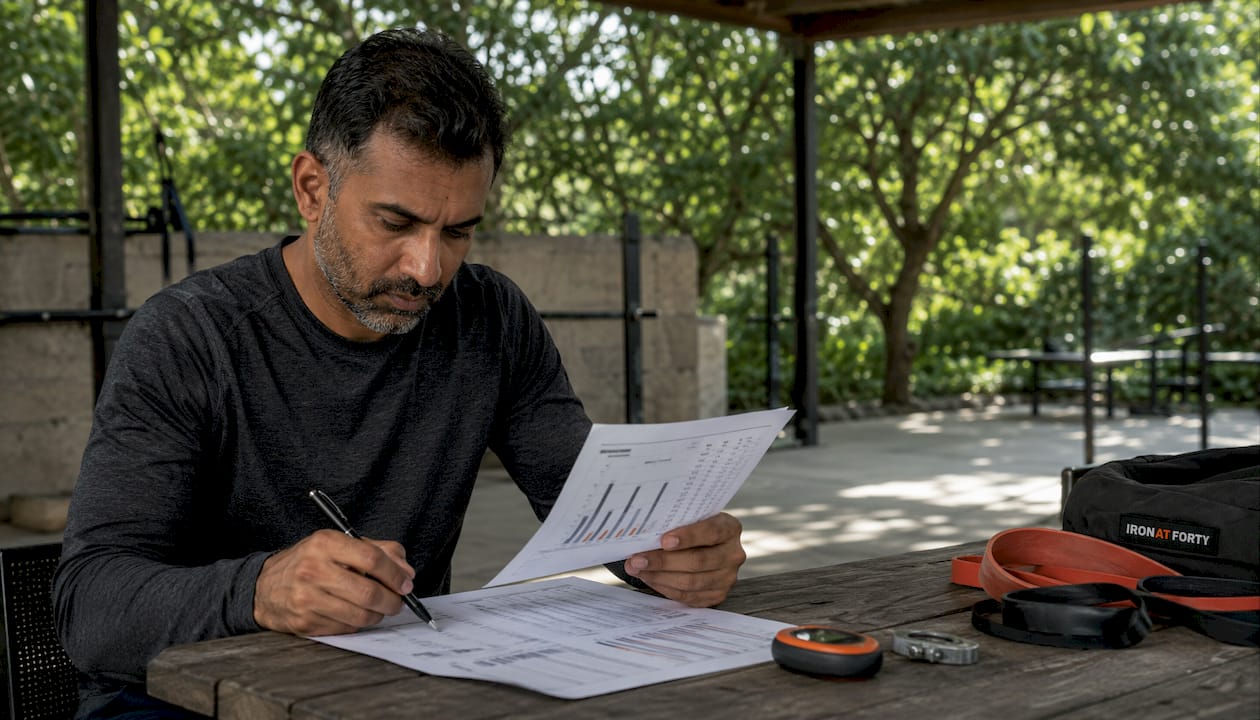
The formula is straightforward, but the inputs require care. Jump height and ground contact time must be in consistent units: meters and seconds. The resulting RSI is a dimensionless number, which is why you'll see it reported as "2.1" rather than "2.1 m/s."
Worked example from flight time
If your contact mat gives you a flight time of 0.52 seconds, convert to jump height using the standard physics formula:
h = (g × t²) ÷ 8
Where g = 9.81 m/s² and t = flight time in seconds.
h = (9.81 × 0.52²) ÷ 8 = (9.81 × 0.2704) ÷ 8 = 2.653 ÷ 8 = 0.332 m
If ground contact time was 0.18 seconds:
RSI = 0.332 ÷ 0.18 = 1.84
That's a flight-time conversion to jump height. Force plates derive jump height from the velocity at take-off, which is more precise. The two methods can produce slightly different values for the same jump, so never compare RSI scores collected with different equipment.
Common calculation pitfalls
- Inconsistent drop height — changing box height changes both GCT and jump height, making RSI values incomparable across sessions
- Body position changes — tucking knees or altering posture between landing and take-off distorts flight-time calculations by violating the linear center-of-gravity assumption
- Low GCT resolution — devices that measure contact time in 10 ms increments introduce meaningful error; millisecond resolution matters
- Mixing RSI and RSI-mod — these are separate metrics; treating them as equivalent inflates or deflates apparent performance changes
What counts as a good RSI score?
Benchmarks are context-dependent. A score that signals elite reactivity in a recreational lifter is average for a Division I sprinter. Use these tiers as a starting framework, not a verdict.
| Athlete Level | Typical RSI Range | Context Notes |
|---|---|---|
| Novice / untrained | < 1.0 | Low reactivity typical for limited SSC development; prioritize strength and landing mechanics |
| Recreational / fitness-trained | 1.0–1.5 | Moderate reactivity levels indicating adequate base; reactive training will produce clear gains |
| Trained team-sport athletes | 1.5–2.0 | Higher reactivity range commonly seen in competitive soccer, basketball, rugby players |
| Advanced / strength-trained | 2.0–3.0 | Strong reactive capacity; gains require targeted programming |
| Elite jump/sprint athletes | > 3.0 | Very strong reactive capacity often associated with high-level performance |
These generalized tiers come from coaching literature and practical guides. Always pair them with sport context.
Two athletes can post the same RSI through completely different routes. One might jump 0.40 m with a 0.20 s contact time (RSI = 2.0). Another might jump 0.30 m with a 0.15 s contact time (also RSI = 2.0). The first athlete is strength-dominant; the second is reactivity-dominant. Programming them identically would be a mistake. Always look at the numerator and denominator separately before writing a training plan.
Sport-context notes worth keeping in mind:
- Sprint and jump sports (track, volleyball, basketball) — prioritize reducing GCT; reactive stiffness is the limiting factor
- Team sports with mixed demands (soccer, rugby) — balance absolute jump height with contact time; neither component dominates
- Strength-focused athletes (powerlifters, older lifters) — RSI is less central; use it as a secondary check on neuromuscular readiness
How reliable is RSI, and what are its limits?
RSI has acceptable reliability in controlled settings. A systematic review-Reactive-strength-index-and-its-associations-with-measures.pdf) reports moderate to high reliability coefficients and variation across studies and populations. That wide range is the point: reliability depends heavily on how strictly the protocol is controlled.
Measurement error sources to know:
- GCT precision — low-resolution devices inflate measurement noise; small longitudinal changes can disappear into the error band
- Inconsistent drop height — even a 5 cm difference in box height changes the eccentric load and therefore both components of the ratio
- Body posture — knee tucking or arm swing changes between trials introduce systematic bias
- Device differences — force plates and contact mats produce systematically different values; switching devices mid-study is a design flaw
Practical mitigations:
- Standardize every protocol variable before the first test and never change them
- Use the same device for all longitudinal tracking; if you upgrade equipment, run a parallel testing session to establish a conversion baseline
- Always report drop height alongside RSI values when sharing data
- Pair RSI with complementary tests: a countermovement jump for absolute power, and a strength metric like a 1RM squat or estimated max lift to contextualize the reactive score
One important boundary: RSI and RSI-mod are related but not interchangeable. RSI-mod from a CMJ captures a slower, more deliberate SSC quality. Classic RSI from a drop jump captures fast SSC function at contact times typically at or below 250 ms. Use each for its intended purpose.
How do you improve your RSI score?
To raise RSI, you have two levers: increase jump height or reduce ground contact time. Most athletes need both, but the priority depends on which component is limiting them. Check the numerator and denominator before you program anything.
Progressive drill sequence
- Pogo hops — bilateral ankle bounces with minimal knee bend; teaches stiff, rapid ground contacts; 3 sets of 10–15 reps
- Short ankle hops — single-leg version of pogo hops; builds unilateral reactive stiffness; 3 sets of 8–10 per leg
- Skipping and bounding — horizontal reactive drills that bridge ankle stiffness to full-body power; 3 sets of 20–30 m
- Repeated broad jumps — emphasize fast, stiff landings with immediate re-jump; 3 sets of 5 contacts
- Depth jumps — the most specific drill for RSI; step off a 30–40 cm box and react immediately; 3–4 sets of 4–6 reps
Coaching cues that matter: "Touch and go," "Land quiet, leave loud," and "Don't sit in the bottom" all reinforce the short amortization phase you're training.
Weekly integration example
| Day | Session Focus |
|---|---|
| Monday | Heavy lower-body strength (squats, deadlifts) |
| Tuesday | Pogo hops + short ankle hops (low-intensity reactive) |
| Thursday | Moderate strength + bounding or broad jumps |
| Saturday | Depth jumps (high-intensity reactive; fully rested) |
RSI is acutely sensitive to neuromuscular fatigue. Ground contact time tends to creep up before jump height drops, so a rising GCT is your early warning sign. Don't schedule high-intensity reactive work the day after a heavy squat session.
Safety and readiness checklist before high-intensity plyometrics
- Athlete can land a box step-down with controlled, quiet mechanics
- Single-leg squat to 60 degrees of knee flexion without valgus collapse
- No acute joint pain or tendon soreness
- At least 6–8 weeks of consistent strength training as a base
Pro Tip: If an athlete's RSI hasn't improved after 4–6 weeks of plyometric work, check their absolute strength first. Reactive capacity has a ceiling set by how much force you can produce. Chasing more plyometrics when the real limiter is weak legs is a common programming mistake.
RSI for lifters over 40: what changes and what doesn't
The physiology of RSI doesn't change after 40. The formula is the same, the SSC is the same, and the training principles are the same. What changes is the margin for error. Tendons take longer to adapt than muscles. Recovery between high-impact sessions stretches out. And the cost of a misstep, literally and figuratively, is higher.
Lifters over 40 can absolutely use RSI as a training tool. The key is conservative exposure and a technique-first approach.
Age-specific guidelines:
- Start with lower drop heights — 20–30 cm rather than 40 cm; build eccentric tolerance before increasing load
- Extend rest between sessions — 72 hours minimum between reactive sessions, especially early in a program
- Prioritize landing mechanics — quiet, controlled landings before worrying about contact time
- Build proximal strength first — hip abductors, glutes, and single-leg stability underpin safe reactive work
- Monitor GCT trends — rising contact times across a training block signal accumulated fatigue; back off before the body forces you to
A conservative 8-week entry block looks like: weeks 1–2 pogo hops only, weeks 3–4 add ankle hops, weeks 5–6 introduce bounding, weeks 7–8 add low-box depth jumps. That's not slow. That's how you stay in the game long enough to see results.
For integrating RSI work into a complete training plan, Ironatforty's training programs for adults over 40 cover periodization and recovery in detail. The free tools hub also has a TDEE calculator and 1RM calculator to help you calibrate training load alongside reactive sessions. And if joint health is a concern, the joints resource is worth reading before you start any plyometric block.
For a broader look at improving athletic performance as an adult, Level Up Gym's guide covers complementary ground well.
Key Takeaways
RSI = jump height (m) ÷ ground contact time (s), and improving it requires targeting whichever component is limiting you, not just adding more plyometrics.
| Point | Details |
|---|---|
| The formula is simple; the inputs aren't | RSI = jump height ÷ ground contact time; always use meters and seconds, and always report drop height. |
| Benchmarks are context-dependent | Below 1.0 is low; 1.5–2.0 is typical for trained team-sport athletes; above 3.0 is elite. |
| Analyze components separately | Two athletes can share the same RSI through different height/GCT combinations; program accordingly. |
| Protocol consistency is everything | ICC ranges from ~0.57 to 0.99 across studies; reliability collapses without standardized equipment and conditions. |
| RSI and RSI-mod are not the same | Drop jump RSI and CMJ-derived RSI-mod measure distinct qualities; never substitute one for the other. |
RSI is a tool, not a trophy
Here's the coaching reality most RSI articles skip: the metric is only as useful as the decisions it drives. Coaches get seduced by the number itself, tracking it weekly, comparing athletes across different drop heights, and treating a 0.1-point gain as meaningful progress when it's inside the measurement error band.
The smarter habit is to use RSI diagnostically. Test it at the start of a training block, check the numerator and denominator separately, and let that split tell you whether to prioritize force development or reactive stiffness work. An athlete sitting at RSI 1.8 with a 0.42 m jump height and 0.23 s contact time needs different programming than one at 1.8 with 0.27 m and 0.15 s. Same score, opposite problem.
For lifters over 40, there's a specific trap worth naming: chasing RSI gains through volume when the real limiter is absolute strength. Once you're past the initial adaptation phase, more pogo hops won't move the needle. What will is getting stronger under the bar. Reactive capacity has a force ceiling. Raise the ceiling first, then train the speed of expression. That sequencing is what separates athletes who keep improving after 40 from those who plateau and wonder why.
Three habits that separate good RSI practitioners from the rest: track device consistency religiously, analyze height and GCT as separate variables before drawing conclusions, and pair every RSI score with a strength metric so you know which lever to pull next.
Useful sources
Key papers and guides that back the claims in this article:
- Reactive Strength Index: Systematic Review (Read, 2021)-Reactive-strength-index-and-its-associations-with-measures.pdf) — Comprehensive review of RSI's associations with athletic performance; primary source for reliability data (ICC 0.57–0.99, CV 2.98–14%).
- RSI vs RSI-mod: Association and Agreement (MDPI, Sports) — Demonstrates that drop-jump RSI and CMJ-derived RSI-mod are not interchangeable; essential reading for anyone comparing test methods.
- RSI Measurement Validity (MDPI, Sports) — Covers measurement bias from body-position changes and technique inconsistency; explains why flight-time calculations require strict posture control.
- Reactive Strength Index: Science for Sport — Practical coaching guide covering benchmarks, sport applications, and the fast SSC threshold (~250 ms GCT).
- RSI Calculation Guide: PoinT GO Research — Step-by-step worked examples for flight-time-to-jump-height conversion and RSI calculation.
- RSI Testing Protocol: PoinT GO Research — Protocol sensitivity analysis; explains why drop height must always be reported alongside RSI values.
- RSI for Plyometric Readiness: PoinT GO — Covers RSI's sensitivity to neuromuscular fatigue and how to use it as a readiness indicator.
- Drop Jump Plyometrics Guidance: Topend Sports — Practical drill progressions and coaching notes for depth jump training to improve RSI.
- PubMed: Stretch-Shortening Cycle Research — Foundational SSC physiology; validates the biomechanical basis for RSI as a performance metric.
Force plates remain the validation standard for RSI measurement. Contact mats and apps are acceptable for field monitoring and trend tracking, but any normative comparison or research-grade assessment should use force plate data.
FAQ
What is a good RSI score?
Trained team-sport athletes typically score between 1.5 and 2.0; elite jump and sprint athletes often exceed 3.0. Scores below 1.0 indicate limited reactive capacity and usually signal a need for foundational strength and landing mechanics work before adding plyometric volume.
How do you calculate the reactive strength index?
Divide jump height in meters by ground contact time in seconds. If your contact mat gives a flight time of 0.52 seconds, convert to height using h = (g × t²) ÷ 8, then divide by your measured GCT to get RSI.
How do you improve your RSI?
Target whichever component is limiting you: increase jump height through force and power work, or reduce ground contact time with progressive plyometrics starting with pogo hops and building toward depth jumps over 6–8 weeks.
Is a 30-inch vertical jump rare?
A 30-inch vertical is above average for most trained athletes and uncommon in the general population, though it's a standard benchmark in elite basketball and football combine testing. RSI and raw vertical height measure different qualities, so a high vertical doesn't automatically mean a high RSI.
What's the difference between RSI and RSI-mod?
Classic RSI uses a drop jump and captures fast SSC function at contact times typically at or below 250 ms. RSI-mod is derived from a countermovement jump and reflects a slower, more deliberate SSC quality. Research shows only moderate association between the two, so they shouldn't be used as substitutes for each other.